Prediction Run
Prediction run can be created for various problem types, including binary, clustering, time series, anomaly detection, regression, and multi-classification in Rapid model recipe. When you create a prediction job, the platform executes data preprocessing and feature engineering operations on the uploaded dataset. This process refines the dataset before feeding it into the trained model, ensuring accurate predictions.
Creating a Prediction run
Use this procedure to create a prediction run in a project.
Hover over the menu icon and select Projects. The Projects dashboard is displayed.
Select the project for which you can to create a prediction run. You can only create prediction runs for the data pipelines which have models built.
Click the Prediction Run from the project-level left navigation menu to open the prediction runs page. If the prediction job is created already, you can view the list of prediction runs, else click +Prediction.
Note
This +Prediction button is enabled only when there are models created in the project.
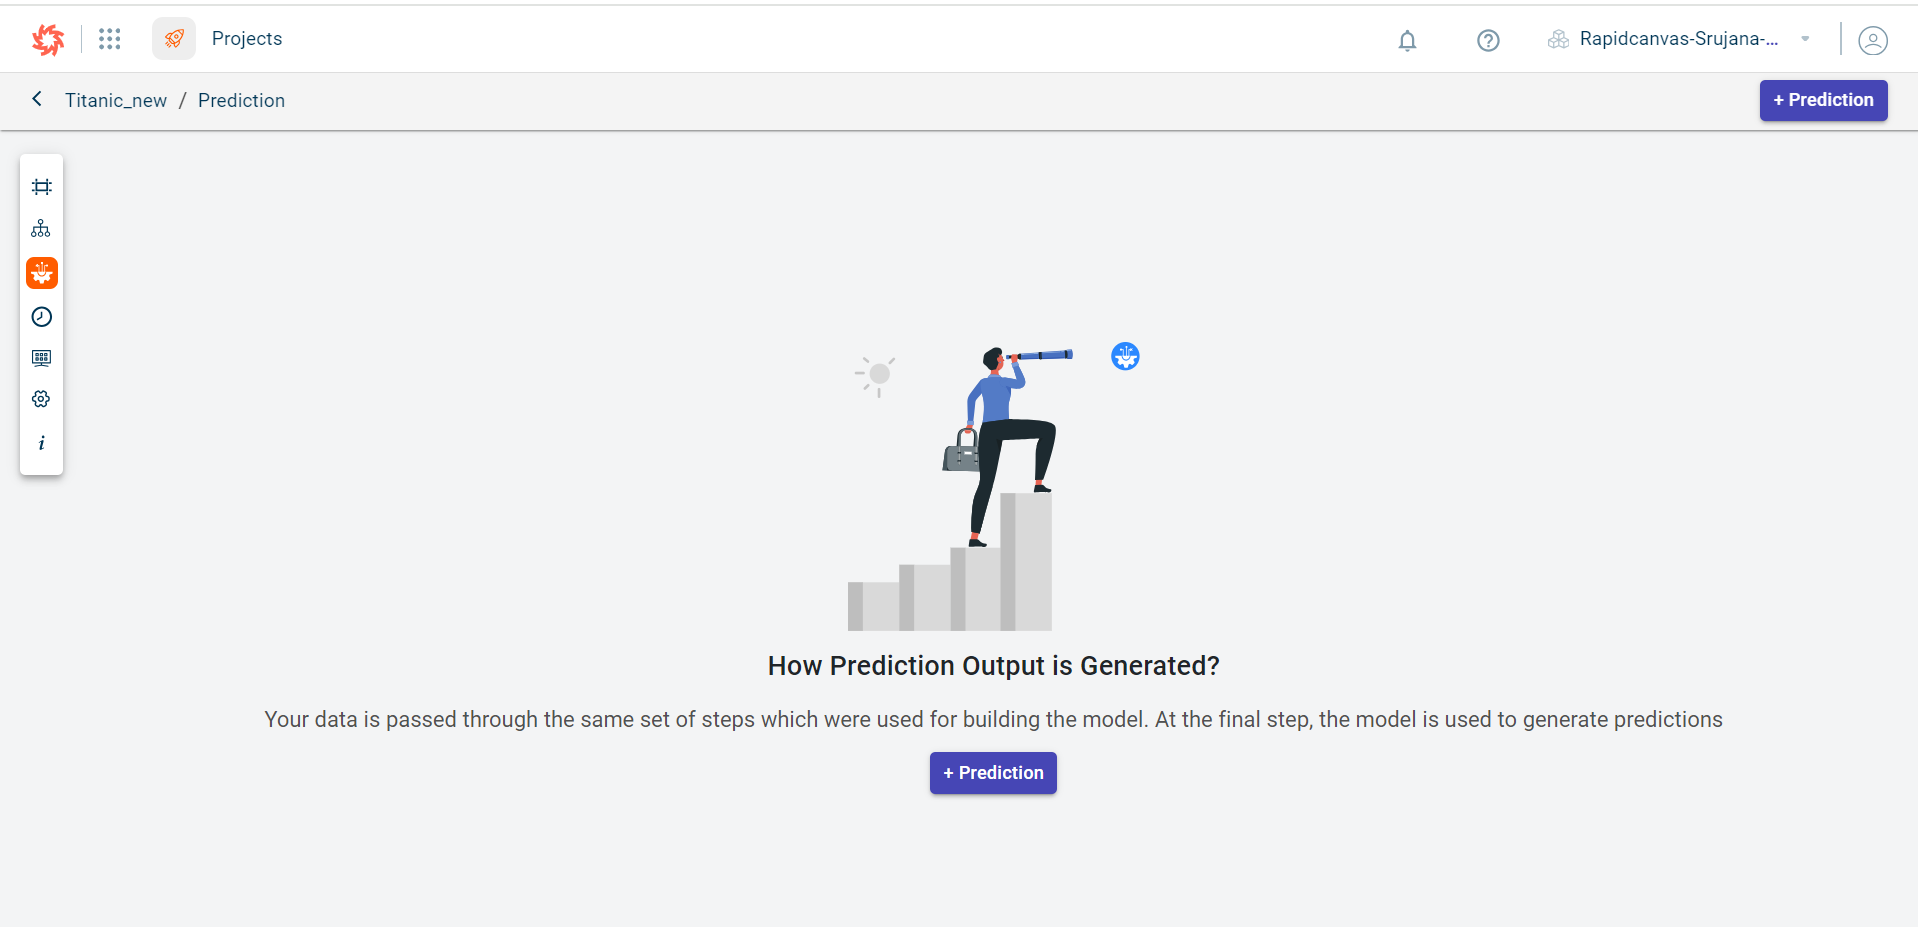
This opens the Select model to generate predictions window.
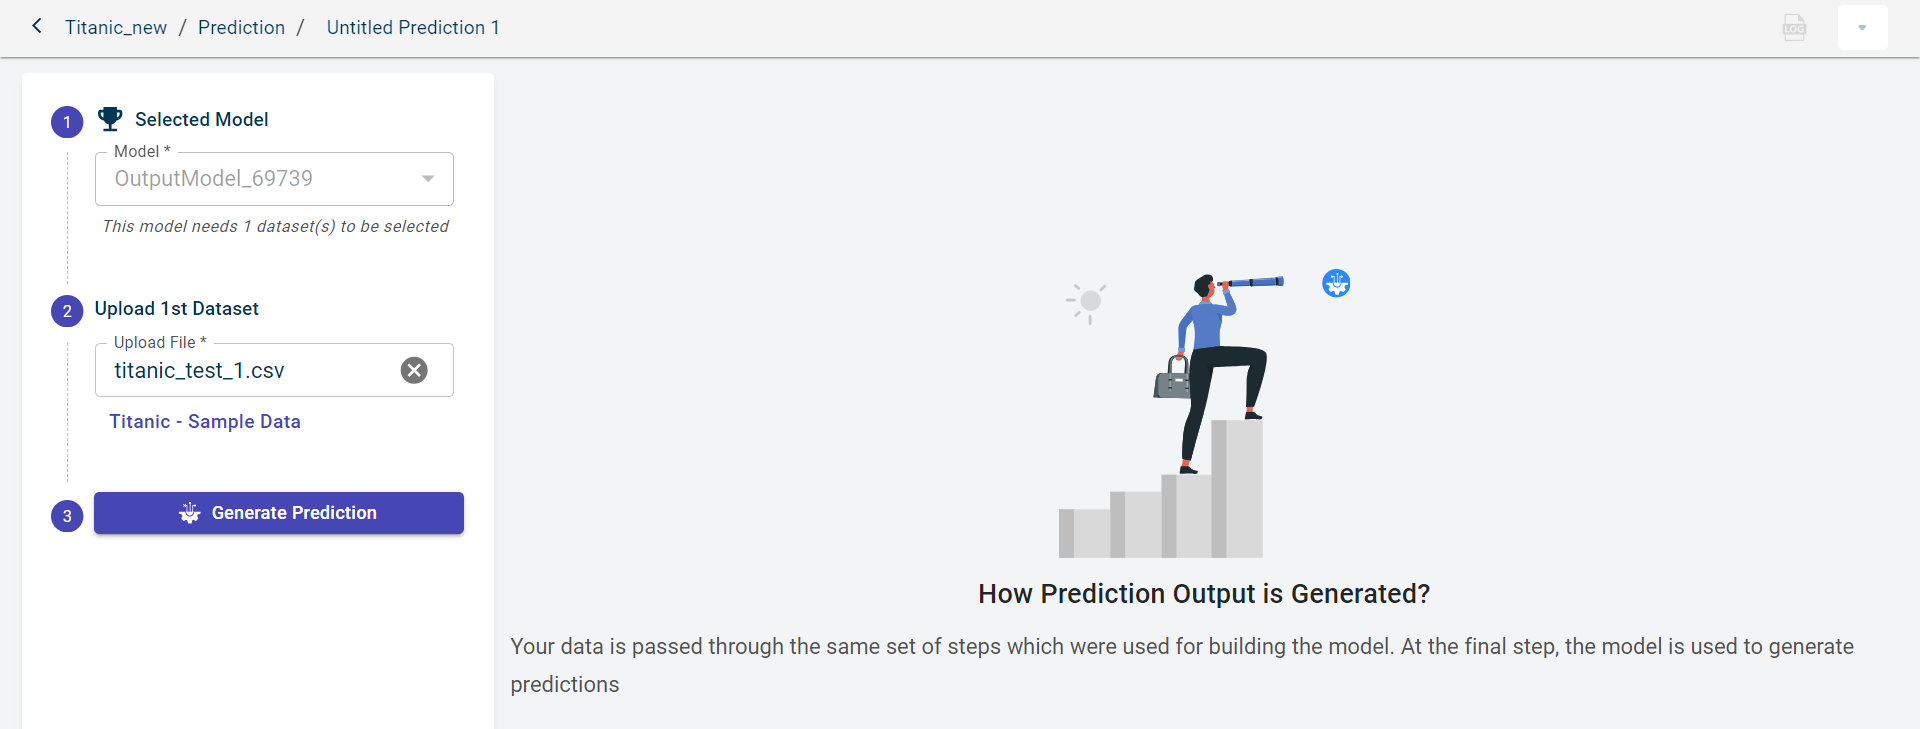
Select the model that you want to use to generate predictions on the new dataset.
Click Proceed to go to the next step.
By default, the model name is populated and cannot be edit. On the breadcrumb, you can provide a custom name for the prediction run name, else the system generated name will be considered.
Click Browse to upload the new dataset on which you want to perform predictions. This opens the File Upload window.

Click Upload File From Local. You can upload maximum file size of 50MB.
Click Close once uploaded.
Click Generate Prediction to start the prediction process. You can notice the status of the prediction job is set to Created and this later changes to Running once the prediction job starts.
Click Add To Canvas to add the generated dataset with predictions to the canvas. This opens the Update Name dialog where you can provide the prediction output name and click Add to Canvas.

Click Download to download the prediction file to your local system to view the predictions generated by the model.
Note
The Future Period field is displayed when creating a prediction run for time series problems. In this field, you specify the future period for which predictions should be made.
On this page, you can perform the following actions:
Click the logs icon to check for the errors if the prediction run failed to execute. You can also view logs for the successfully executed prediction jobs.
Click the Caret icon and select Delete to delete this prediction run.
Managing prediction runs
Use this procedure to manage all the prediction runs in a project.
Hover over the menu icon and select Projects. The Projects dashboard is displayed.
Select the project for which you can to create a prediction run. You can only create prediction runs for the data pipelines which have models built.
Click the Prediction Run from the project-level left navigation menu to open the prediction jobs page. You can see the list of prediction jobs created.
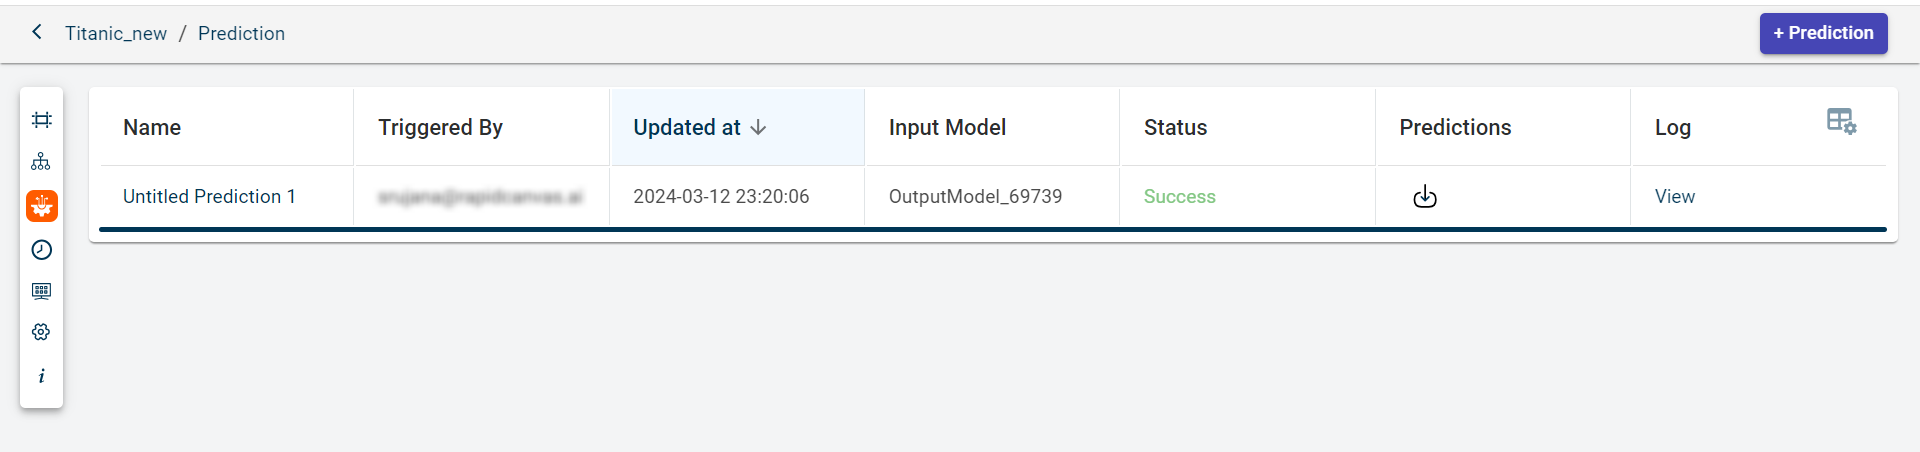
Review this information:
- Name:
The name of the prediction job.
- Triggered By:
The user who has executed the prediction job.
- Updated at:
The last updated time stamp of the prediction job.
- Input model:
The name of the trained input model used on the new dataset to make predictions.
- Status:
The status of the prediction job after it is run. Possible values:
Success
Failed
- Predictions:
Click the download icon to download the dataset in which you can view the predictions.
- Log:
Click View to view the logs generated for the job.
Click on Table Settings to customize your table view by selecting or deselecting the columns you wish to display. You can also rearrange the columns to set them in your desired order.